instructions for the setup of the wireless connection
- Make sure your computer has wireless capabilities.
- Go to Start > Control Panel (or in some computers Start > Settings > Control Panel).
- Do one of the following
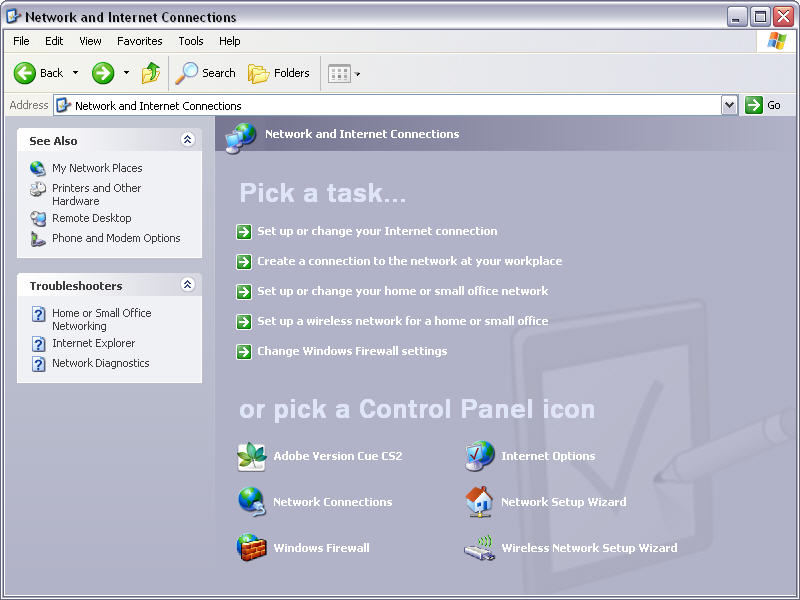
- If the following screen appears, click on "Network and Internet Connections" and then on "Network Connections."
- If a different screen appears, double click on "Network Connections."
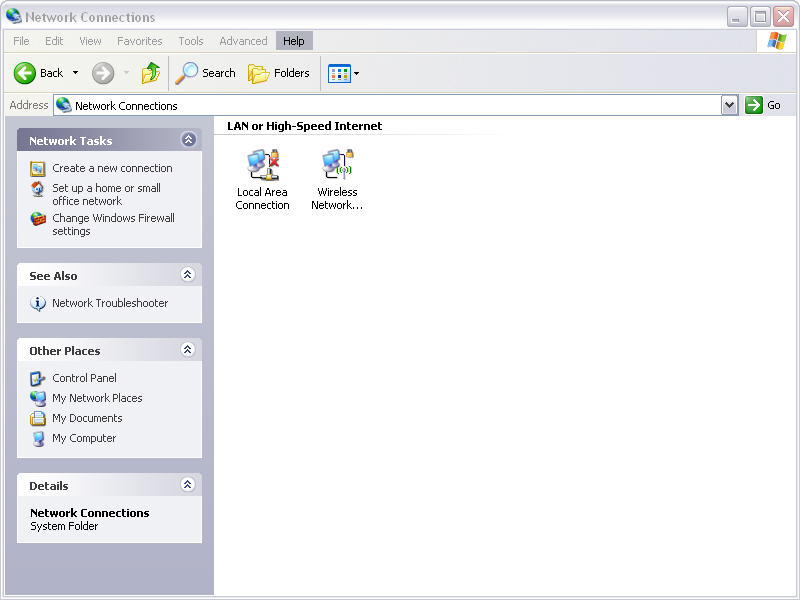
- The following screen should appear.
- Right-click on "Wireless Network Connection" (the title may be different, but it will most likely contain "wireless").
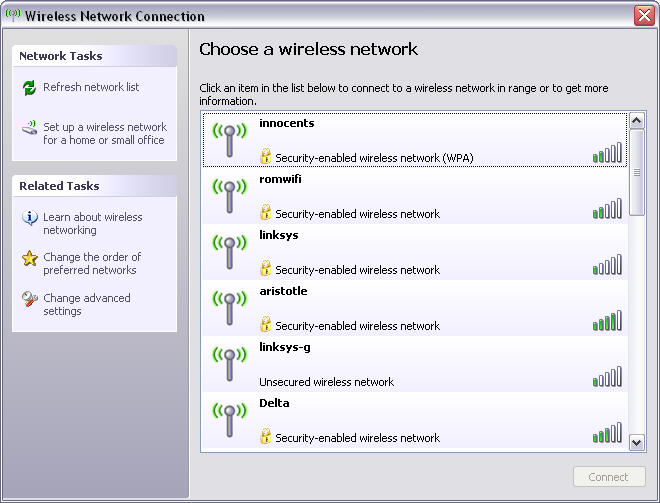
Then select "View Available Wireless Networks" and the following window pops open. - If you are already connected to a wireless network, select it, and disconnect by clicking "disconnect" on the lower right-hand side.
- Hit "Refresh network list."
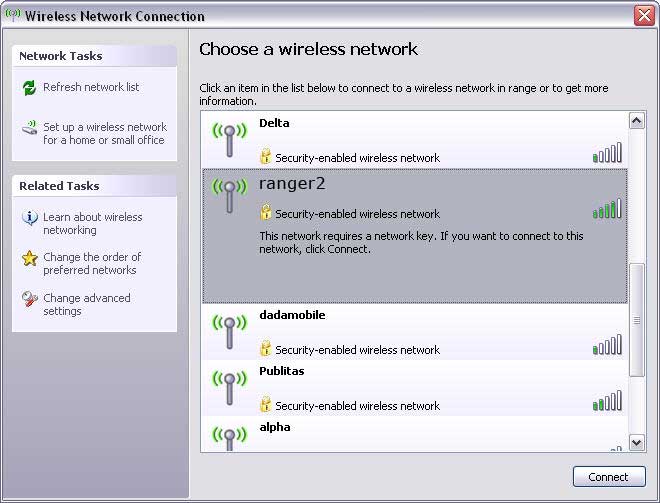
- Look for the wireless connection labeled ranger2.
- Choose the network with the most green bars, as it provides the best coverage for your computer (view below picture for an example).
- Left click on the connection, and then click on the "Connect" button in the lower right hand side of the window.
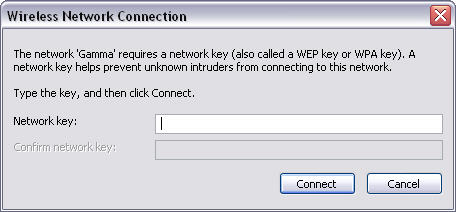
- You may have to wait for a short period of time but a window will pop up and ask for the network key (shown in the picture below).
- Type in the following Network key without spaces:
b2a0cceec48eb31078f598bd51
Hit Connect and you are all set up. (You might want to save the key on your computer as a text file, so you won’t have to search for it when you want to change your connection.) - If you are having difficulties connecting, ask Yvonne for help.